Gemini Notebook (previously known as NotebookLM) is a great place to get even more out of what you’ve read. You drop in sources, ask questions, pull out themes, and let it connect ideas across books. It can even generate flashcards, podcasts, and more.
PastReads is an easy tool that connects your highlights to Gemini Notebook. You import your Kindle and Kobo highlights into one library, then export them as sources for Gemini Notebook. Each book becomes its own PDF file, with highlights and notes already organized, so you can upload a single book or a whole reading list.
The workflow below walks through the whole path.
Step 1 — Open Gemini Notebook
First, go to notebook.google.com and sign in with your Google account. It's free to use (up to 50 sources).
Step 2 — Create a new notebook
After signing in, you'll land on the Gemini Notebook home screen. From there, create a new notebook and give it a name.
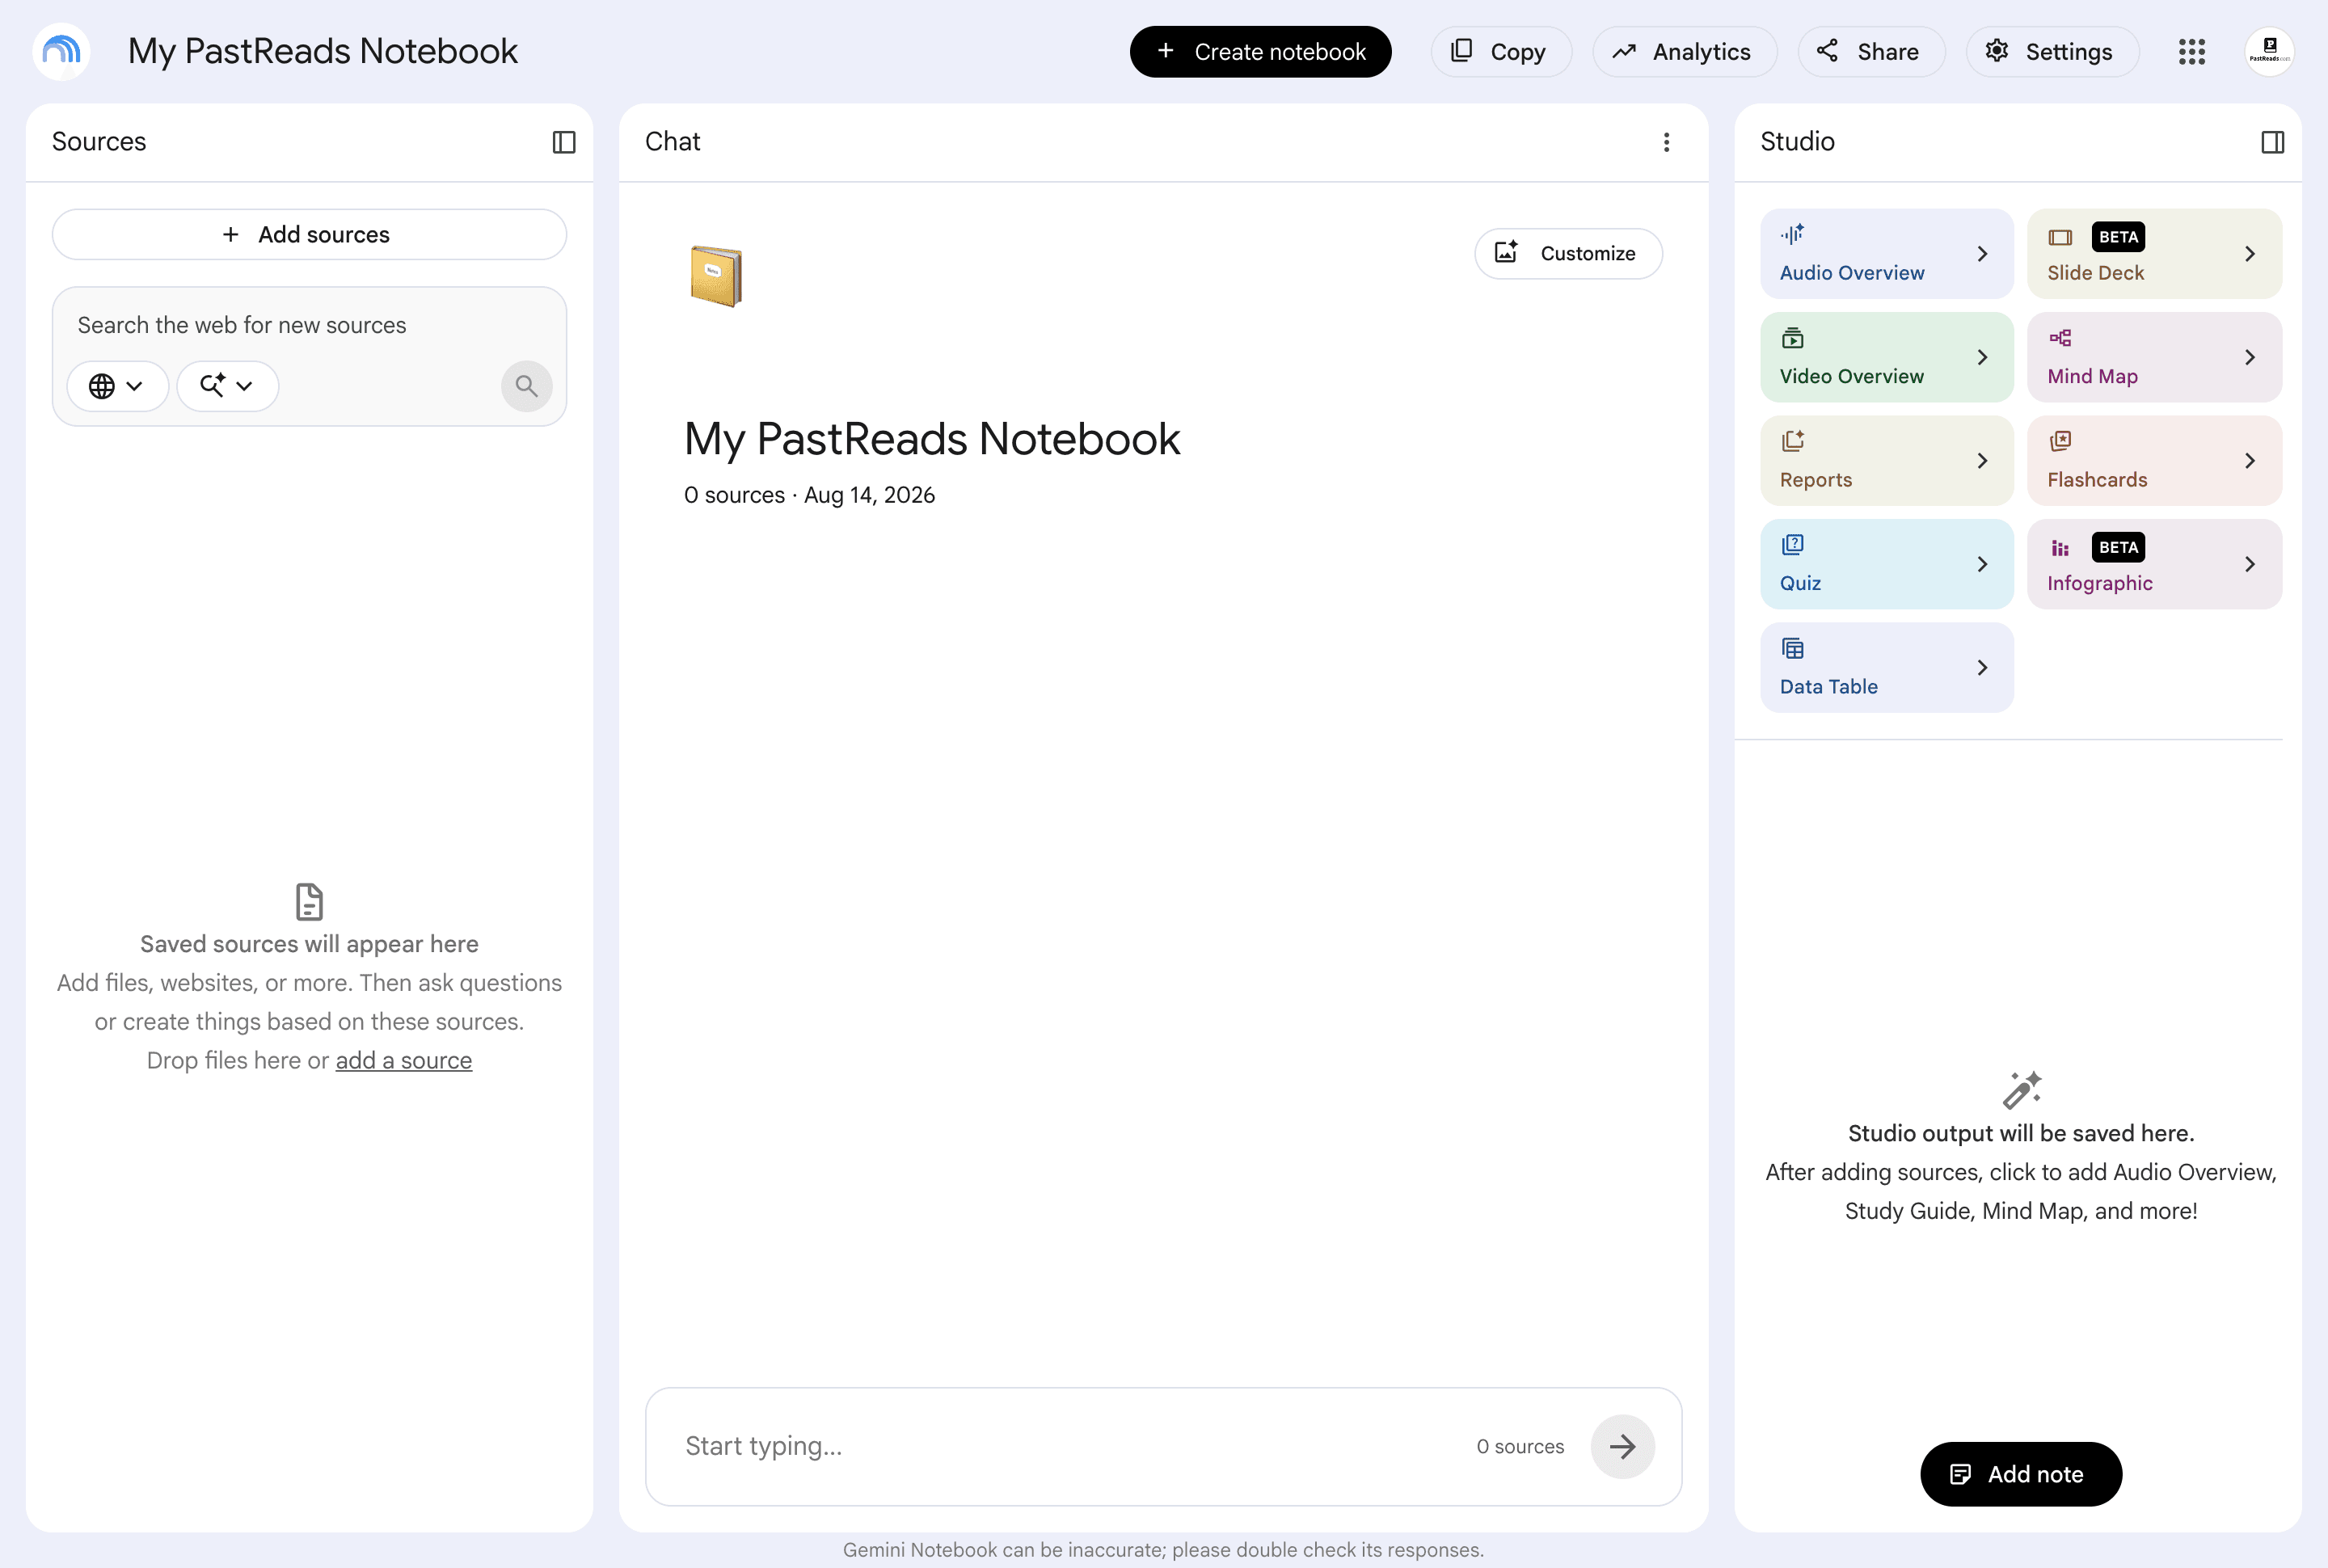
Step 3 — Get your highlights out of PastReads
Your notebook will start out empty, so now it’s time to add your highlighted books and articles.
Open PastReads and make sure you’ve added your Kindle and Kobo files (these contain your highlights and notes from reading). If you haven’t done this yet, open the Import options and follow the instructions.
Once your library is in PastReads, go to Export and choose PDF.
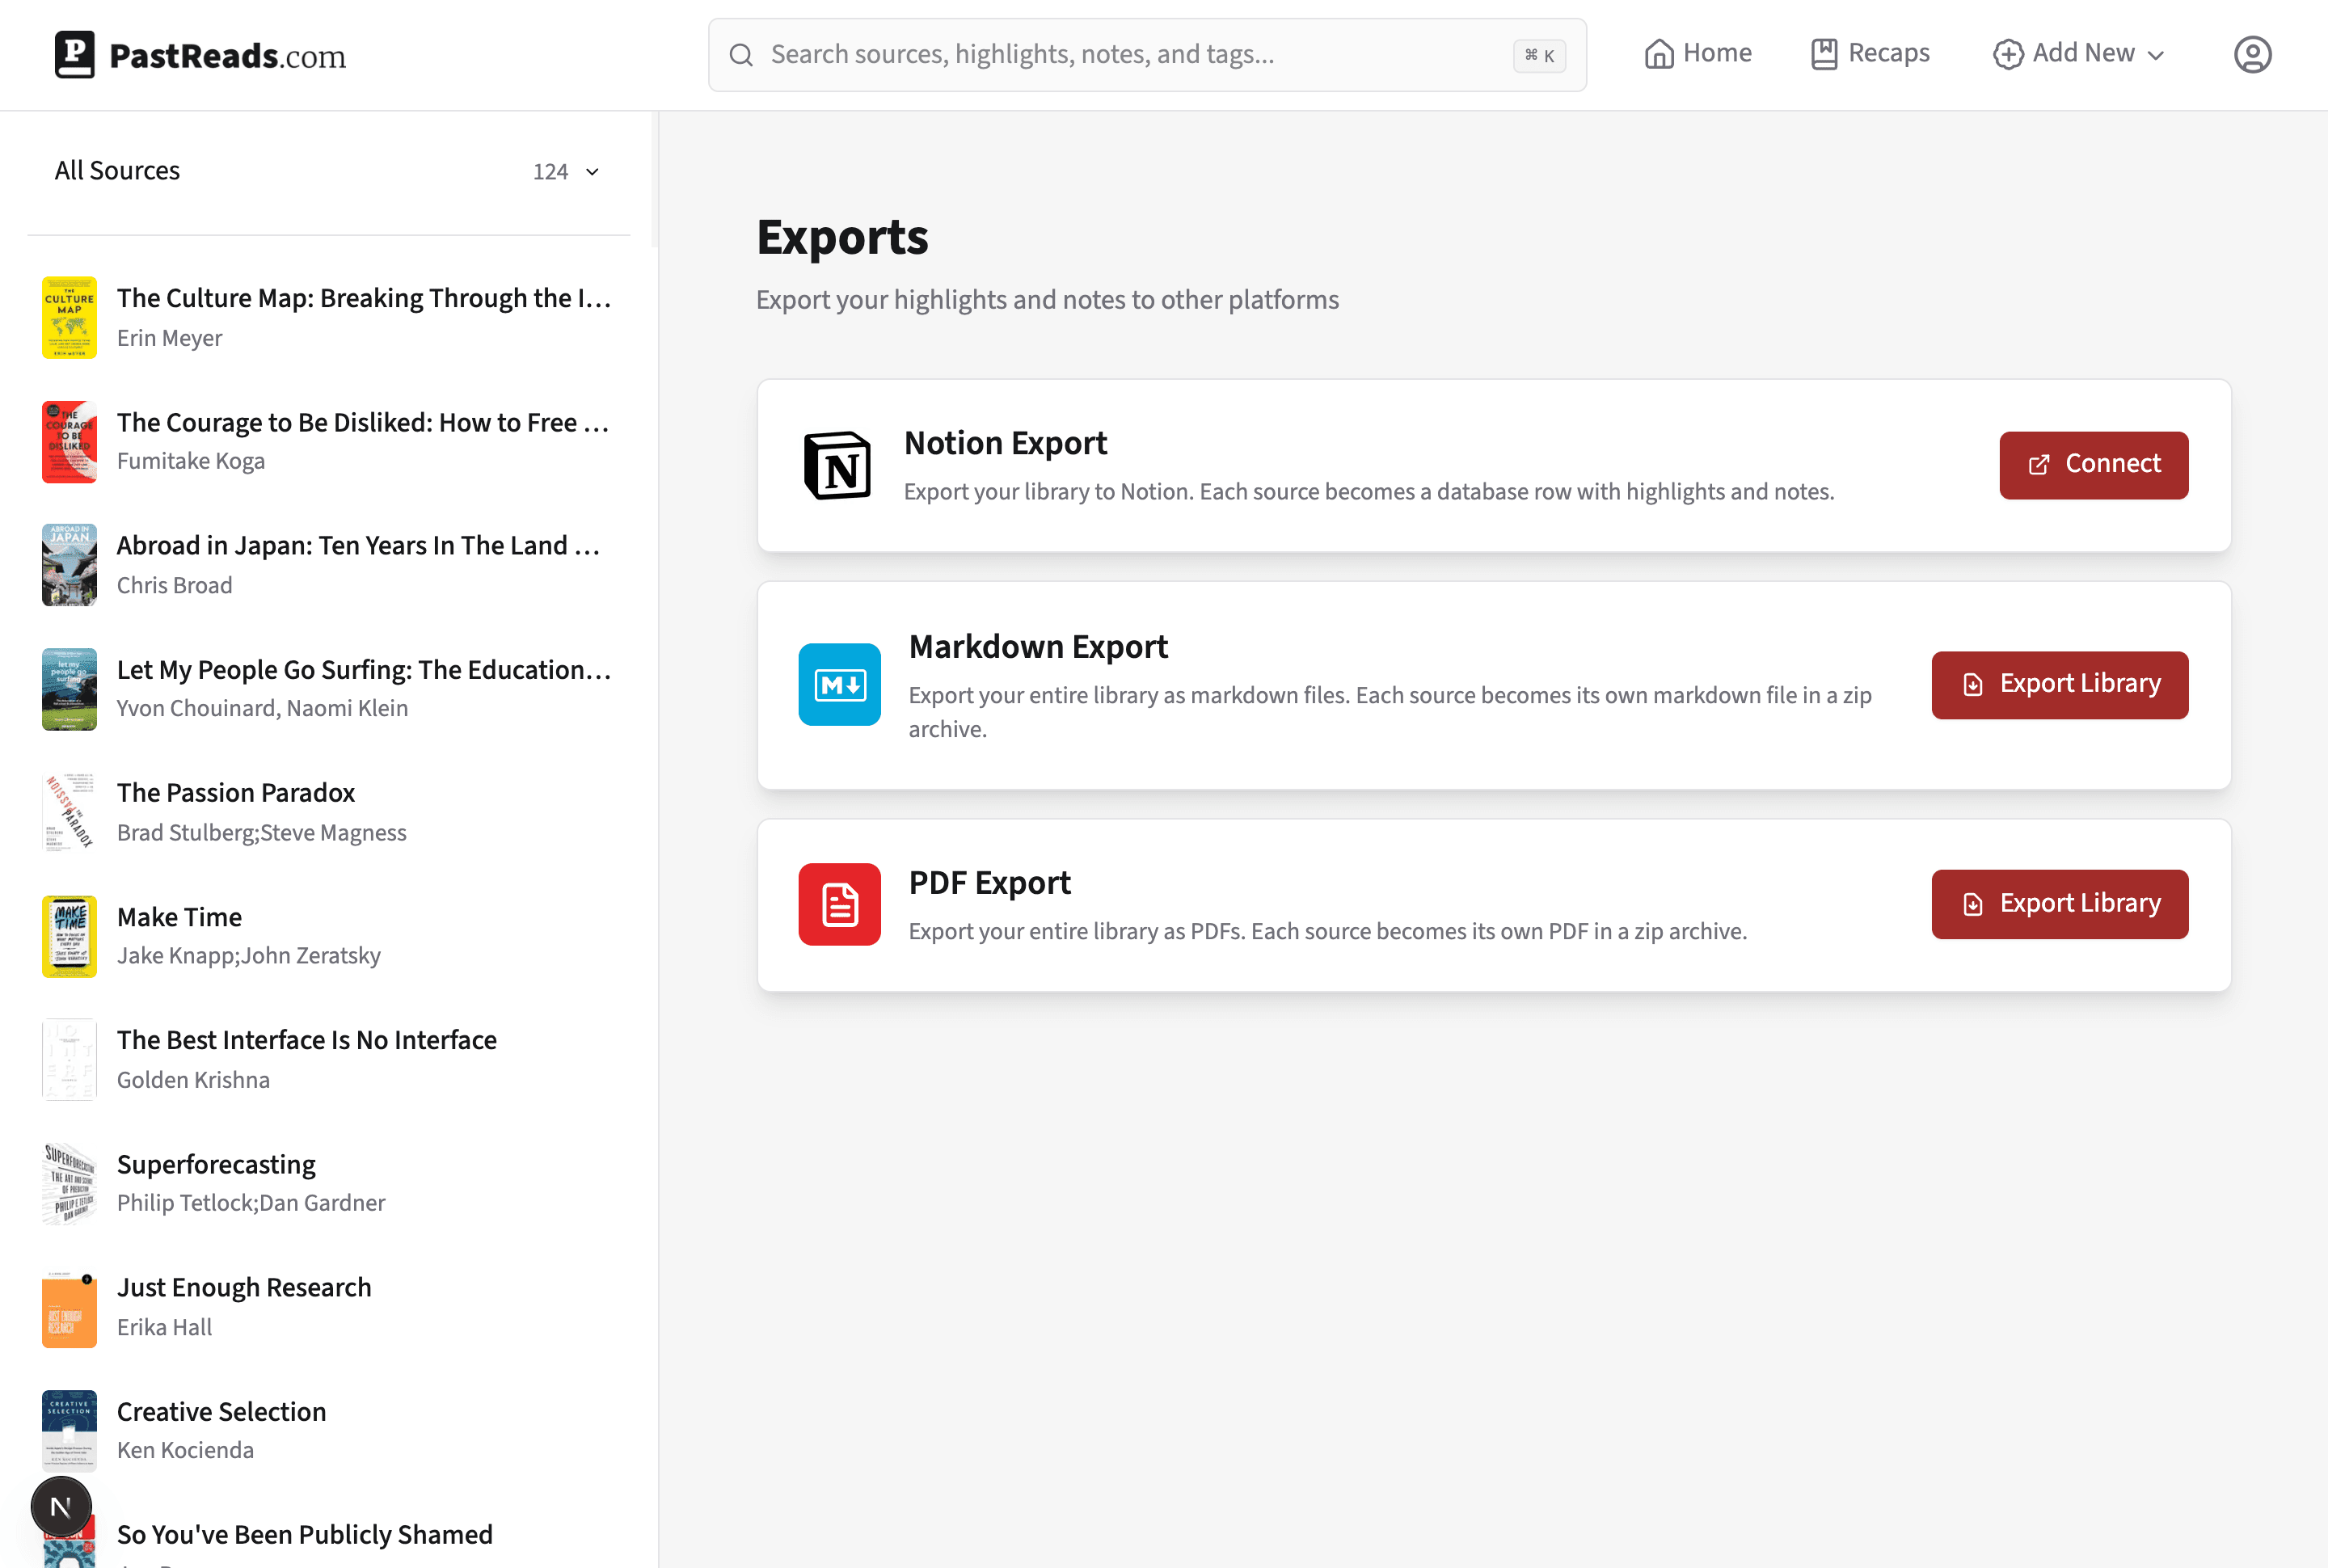
PastReads downloads a ZIP file with one PDF per book. Each file holds that book’s highlights and notes, ready to drop into Gemini Notebook.
Once the download finishes, open the ZIP file to access your PDFs.
Step 4 — Add your PDFs as sources
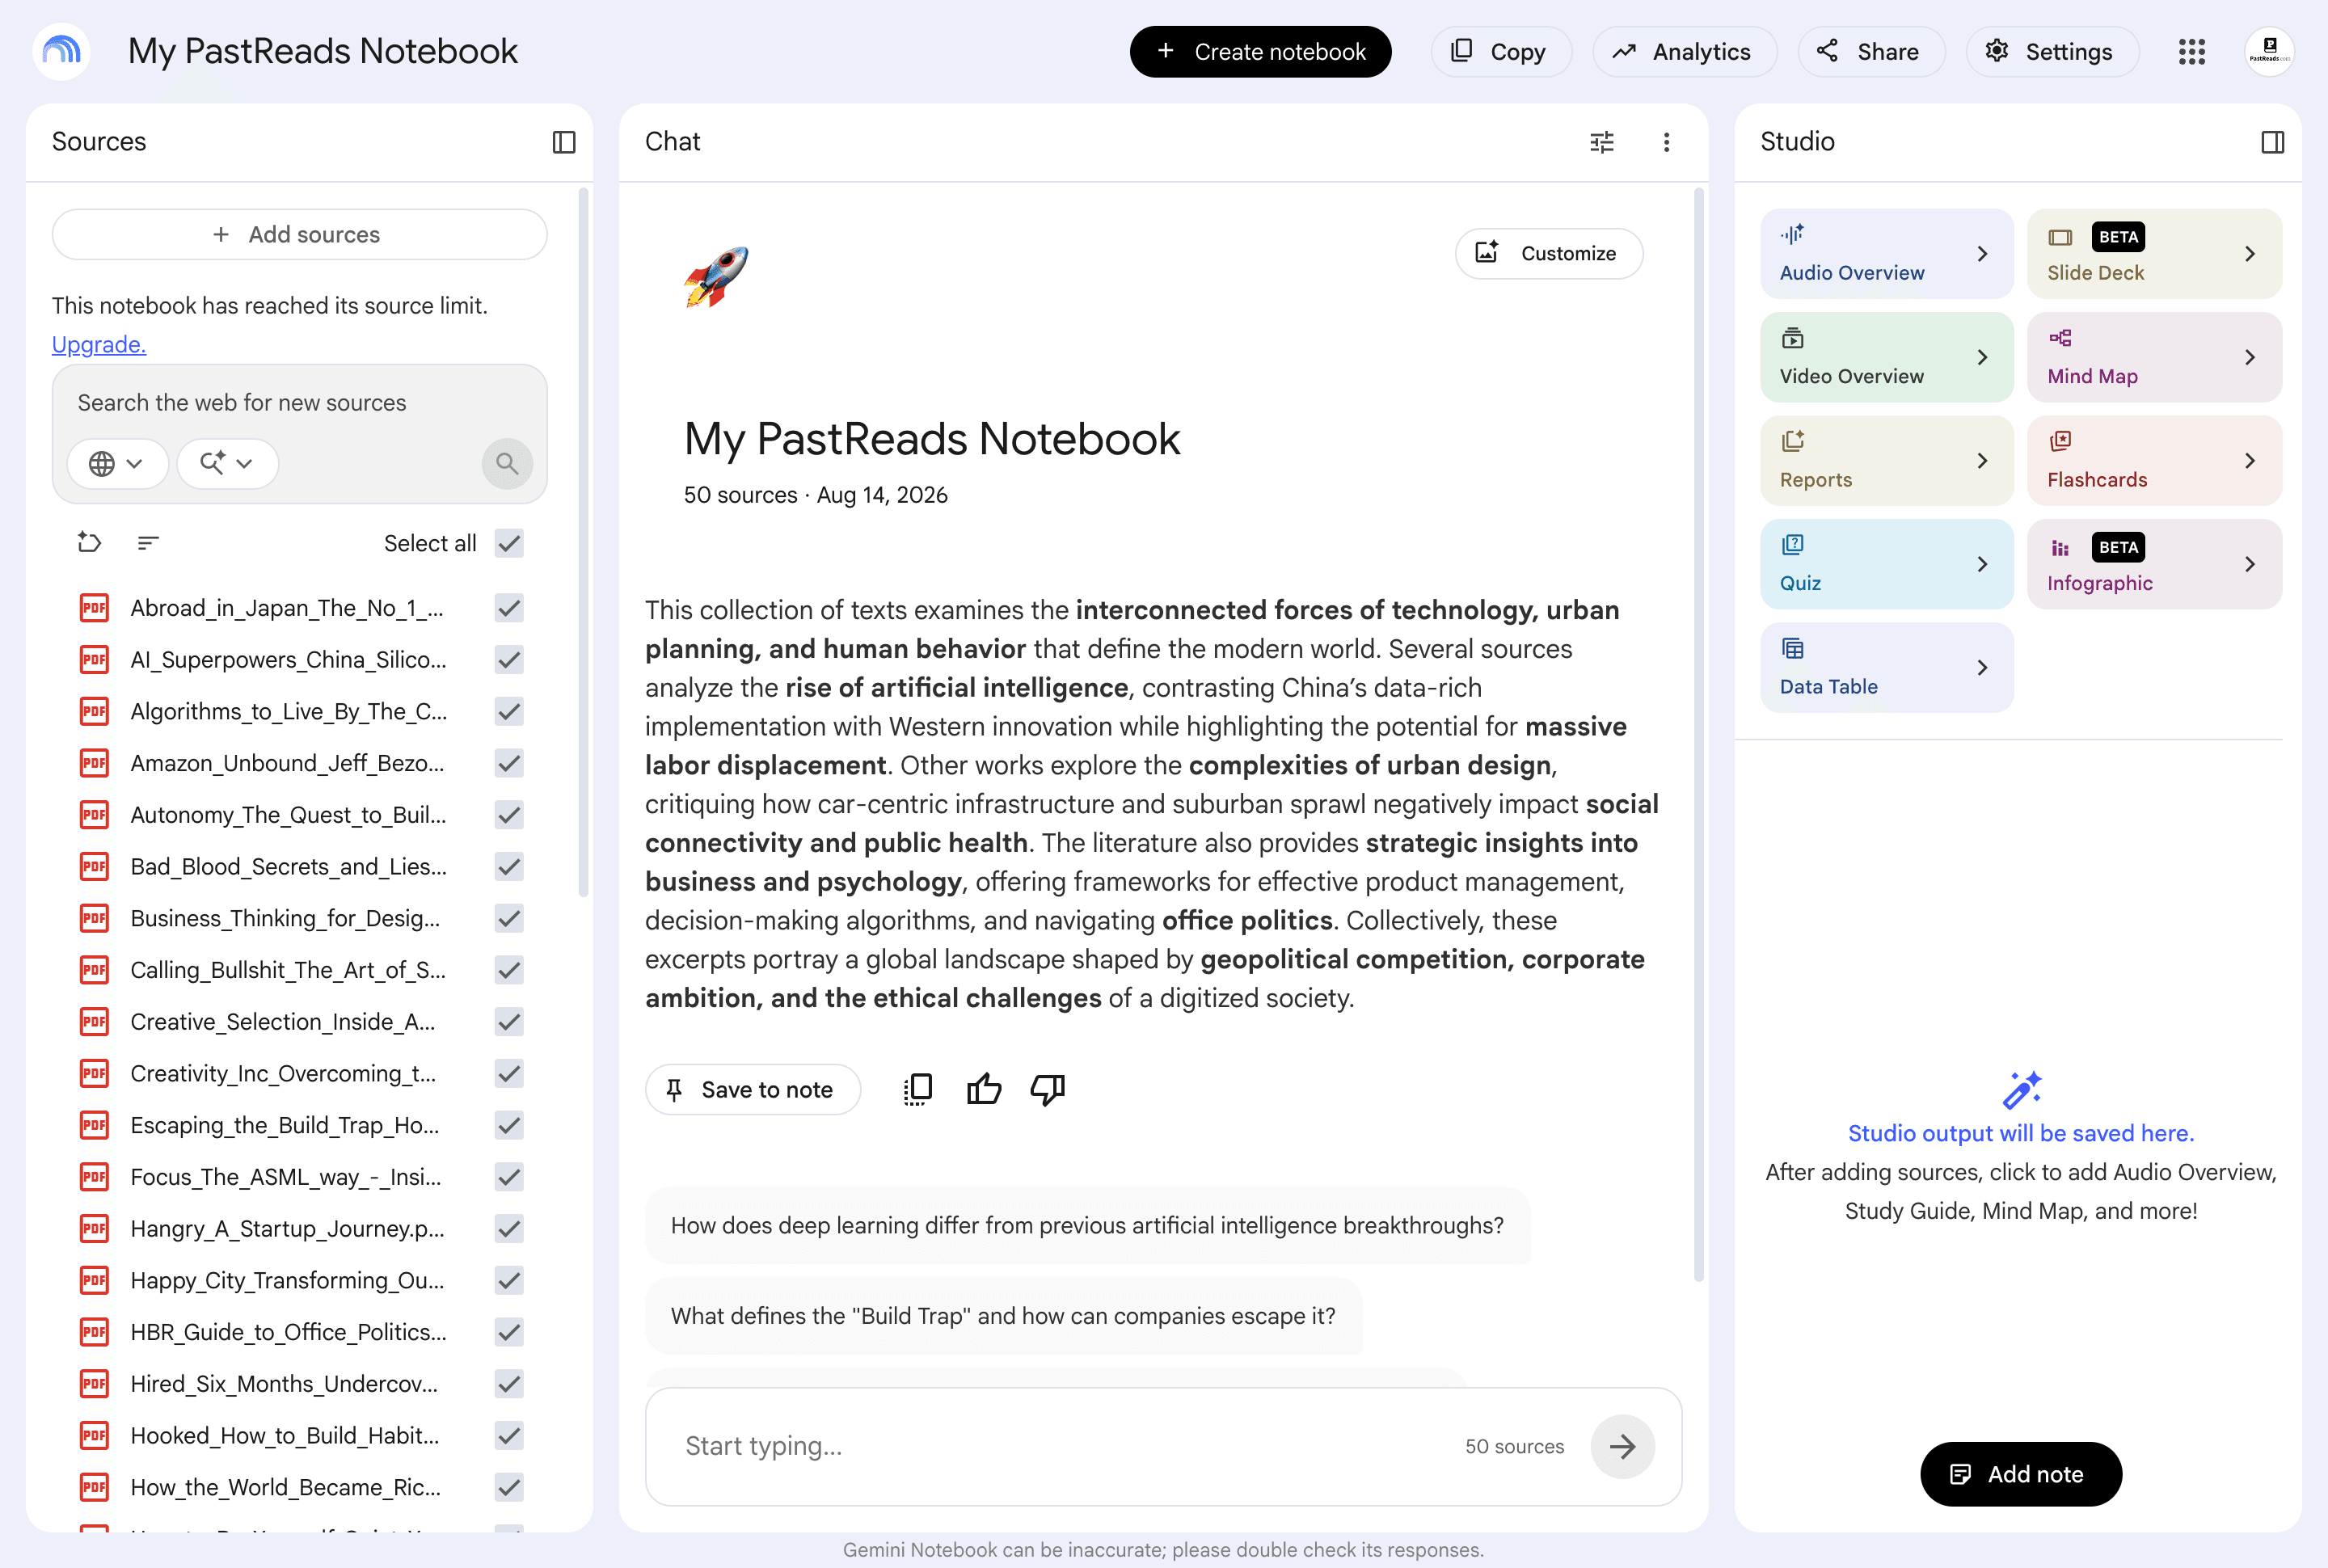
Go back to Gemini Notebook and open the notebook you created. In the Sources panel, click Add sources.
Choose Upload files, or drag and drop the PDFs from the ZIP into the upload area. You can add a single book or any number you want (the free plan allows up to 50).
You don’t have to upload everything: pick the books that belong in this notebook. If you have more than 50, split them across a few notebooks by theme or project.
Wait until every file has finished uploading. They’ll show up in the Sources list, and Gemini Notebook can start using them.
Step 5 — Ask questions
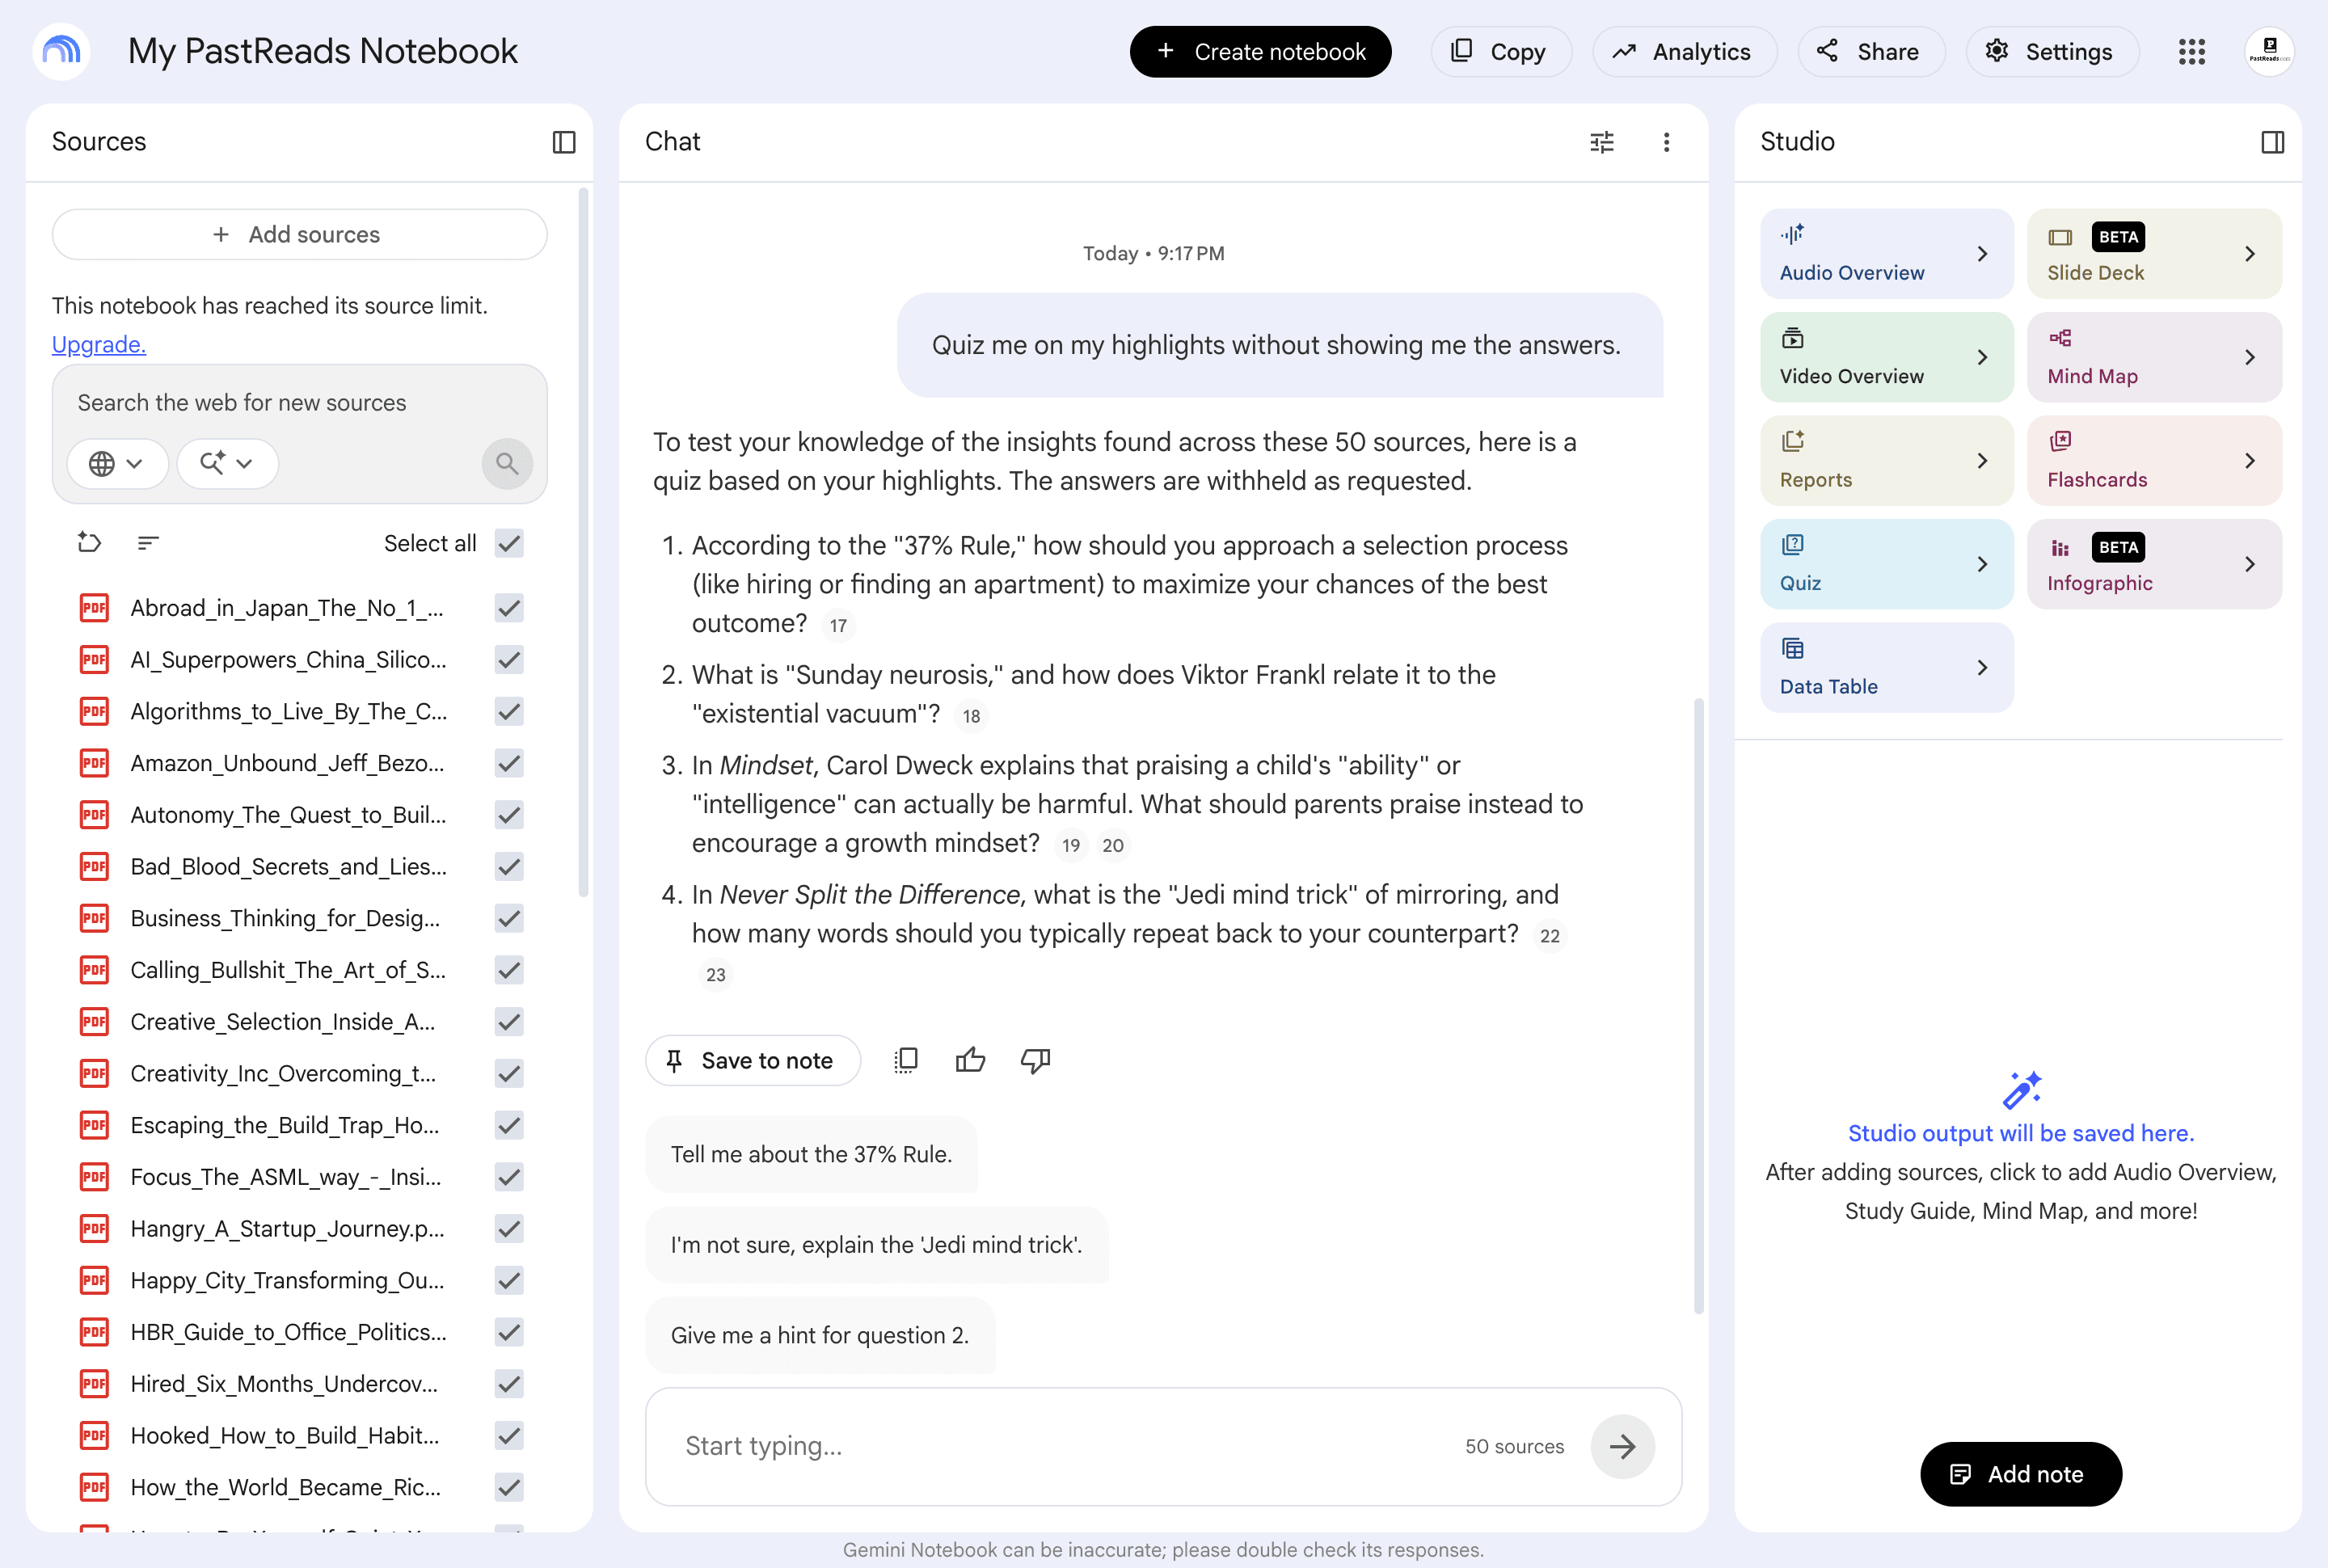
In the Chat panel, type a question about your highlights and hit send. Gemini Notebook answers from the sources you uploaded, and it usually cites which PDF (and highlight) it pulled from. That makes it easy to jump back to the original highlight when you want more context.
You can ask follow-up questions in the same chat, or start a new one if you want to begin a fresh conversation.
A few prompts to try:
- “Find the most quotable lines.”
- “What are the most surprising ideas in here?”
- “Which ideas would save me the most time or effort?”
- “What would someone who disagrees with these highlights say?”
- “Find the most interesting connections between different things I read.”
Ask something specific to a book, a theme, or a problem you’re working on. The more pointed the question, the more useful the answer.
What else you can do in Gemini Notebook
Chat is only one way to make use of Gemini Notebook. On the right side you'll find the Studio panel, which can turn your sources into other formats.
As an example, generate an Audio Overview (a short podcast-style conversation about the passages you marked). Or make flashcards from the ideas you want to remember. You can also try a quiz, a mind map, or a video overview of the same material.
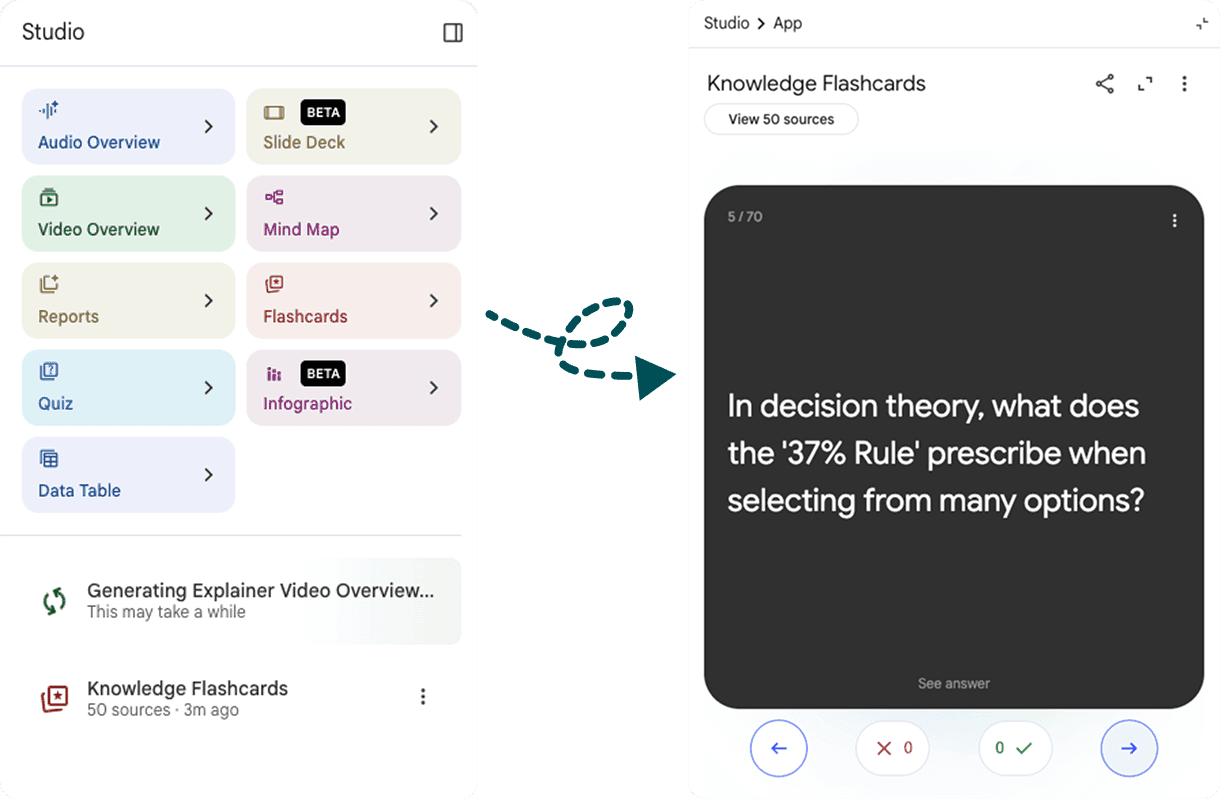
These all draw from your uploaded PDFs, so they stay grounded in your Kindle and Kobo highlights rather than a generic recap of the books.
Try it out
Import your Kindle and Kobo highlights into PastReads, export them as PDFs, and drop them into Gemini Notebook. Once your books are in, you can keep asking questions.